
SSD – Class notes 2026-06-18 Bonsor

DISCUSSION

De-escalation Tactics

    – De-escalation Tactics

    – Avoid techniques that are overt and agitating, as they can escalate the situation.
    – Choose movements that are more casual and not obviously aggressive.
– Avoid moving the contact point where possible especially with tension or force because that signals that you are about to do something.
    – Close the distance while facing the same direction as the opponent, which is psychologically less confrontational than a direct face-off.
    – Always choose the non-escalating when the option is available..
    – Instead of showing agitation, sometimes talking calmly while smiling can have a calming effect.

“Yes, and…”

When asked about a product, an engineer will most likely stick to the facts and specs, e.g., “We are using the best material we can find…” or “The team spent 10 years developing the best process…” In contrast, a salesperson will establish common ground with the audience and address key concerns from the customer’s perspective. For example: “We have a 30-day money-back guarantee…” or “We will take away your old appliance, provide a morning or afternoon delivery window, and call 30 minutes before arrival…”

The way we communicate can easily change the outcome of a situation. If your goal is to de-escalate rather than engage in a struggle or fight, both your body language and your words can significantly influence the result. One example discussed was “Yes, and…” versus “No, but.”

Speed Over Power

We used the example of fire trucks. We may have the most advanced fire truck stationed in the UBC area, but if a fire breaks out in Coquitlam during rush hour, the building will likely burn down before the truck arrives.

This analogy illustrates that, when striking, people often pull their arms back in an attempt to generate a powerful punch. However, the time spent preparing allows the target to move or even hit first. It is critical not to telegraph your intent, even in simple techniques such as escaping from a wrist grab.

“Tagging”

Anyone who has watched boxing will be familiar with the concept of a “feint.” We choose to use the term “tag” instead, as it is broader and can encompass a wider range of similar ideas.

“Tagging” refers to any action that causes a momentary freeze or disruption in an opponent’s attention, intention, or movement.

This concept can be applied across all interactions, whether dealing with one or multiple opponents. The effectiveness of a tag depends heavily on timing and the smoothness of execution.

For example, you might apply a slight pull to draw your opponent toward you, then push sharply as they instinctively pull back to regain balance. In this case, the initial pull functions as the “tag,” creating the reaction that sets up the follow-up action.

SCENARIOS

What if

When attempting to break free from someone’s grip, it is important to anticipate potential reactions and be prepared to adapt accordingly.

The scenario we worked on in class involved a “low, across-the-centerline natural grip.” As you turn your wrist and fingers to draw around the opponent’s wrist, the opponent may rotate their wrist in the same direction to maintain control.

You will notice that, even after the twist, their grip can remain tight. In this situation, you need to find a way to break free without resetting your position.

Hint: Adjust your “crowbar” by reinforcing it with your thumb and applying strength from a different angle.

EXERCISES

Thumb against the wall

Some individuals are naturally more flexible. When they “straighten” their thumb into a locked position, it may not point straight up. Instead, it can appear partially bent, with the first segment of the thumb sitting at an angle relative to the second segment rather than forming a straight line.

Strengthen your thumb to the extent that you can use it to poke at other people, you need to be mindful of your grip: the index finger need to support the thumb and the thumb should be squeezing tight against the index finger.

SIDE NOTES

Logistical Information / Communication Group Setup through WhatApp. Will follow up during the week.

SSD – Class notes 2026-06-11 Bonsor

(Picture taken from an android phone when the tide was low at Parksville)

DISCUSSIONS

Yanking versus Pressing / Expansion / Extension

A key principle when applying pressure in self-defense—especially to escape wrist grips—is not to rely on simply yanking. Yanking is a withdrawal action that makes the angle between your forearm and upper arm more acute. Instead, you should be slightly expanding that angle.

By pressing, you reduce the space between your forearm and your opponent’s grip. This creates structural pressure rather than relying on speed or strength, making your movement more efficient and harder to resist.

Breaking the Support Structure

When working against a grip, it is critical to understand that pressing directly against your opponent’s support structure means working against their strongest line.

Once you identify his line of strength, you should instead choose a line at an angle to it and apply your body weight there. This allows you to compromise their structure rather than contest it directly.

Everything at once

You need to engage your opponent from the very moment you begin stepping, rather than treating the step as preparation for the “real” action.

By doing so, you deny your opponent any advance cues that you are about to defend yourself. The microseconds lost through hesitation or staging are often decisive in determining the success of a technique.

SCENARIOS

Stick Swings – A few of you were practicing the stick swings. A few very important corrections:

  • Grip Too Loose
    Yes, the grip should be relaxed, but letting the stick dangle with just two fingers is excessive. Maintain a controlled, responsive grip—loose enough for fluidity, but firm enough to retain structure and control.
  • Use Body Momentum
    Remember to put your body behind each swing. This not only increases the power of your strikes, but also keeps you mobile. By moving with your strikes, you become a harder target to hit, rather than remaining a static one.

Fine tuning and reviews

Same side low grab – Twisting action retains the axis while the rest of the body parts rotate. It is an important component piece of mechanics. In the “Same side low grab”, most of you still miss the importance of the palm twisting action. Furthermore, in the point to belly button move, most of you are bring your arm to your belly button instead of rounding the elbow out to press against opponent’s arm.

Examples of situations beyond the Basic 5:
– Instead of looking at the grip, learning to separate the different grips with eye closed
– Different two hand grips
– what are the similarities / differences besides the number of hands

– face to face upper arm grab
– side by side wrist grab
– side by side upper arm grab

Joint Locks
While I really don’t like applying wrist locks, it is important to understand why it can work and why it can also fail you.
While I generally do not favour applying wrist locks, it is still important to understand why they can work—and why they can also fail.

Variability in the Individual
Everyone’s flexibility, pain tolerance, and strength are different. A technique that works reliably in training can fail completely if your aggressor falls outside the “normal” range. Relying solely on joint locks assumes a level of compliance that may not be there under stress.

Understanding Joint Mechanics
Learning how joints function—and where their limitations lie—is a critical part of understanding the human body. This includes not only your opponent’s structure, but also your own strengths and weaknesses.

Joint locks should therefore be approached as a study in mechanics and control, rather than a guaranteed solution. They can be effective when conditions are right, but should not be depended on as your primary and only response.

EXERCISES

Same as in previous weeks.

SIDE NOTES

Some of you have expressed interest in meeting up informally at Bonsor (or nearby) during the summer break—whether to continue improving or simply to retain what you have learned this season.

I wholeheartedly encourage this.

Consistent, low-pressure practice is one of the most effective ways to build skill and understanding. Even informal sessions can make a significant difference in maintaining your progress and deepening your familiarity with the material.

SSD-Class notes 2026-06-04 Bonsor

DISCUSSION

Structural alignment

During the escape drills, we highlighted that the position of the arms and fingers, the angle of the grip to your arm are all relevant details that must be followed for some techniques to work.

The “Heavy Elbow” Principle:

An effective downward force cannot be generated via brute force as is demonstrated during class. you have to transfer your entire body weight through the elbow without learning onto the elbow. This can only be accomplished by visualizing your elbow as “heavy”. By letting your body weight sag and apply pressure through the elbow, it creates a much stronger, more stable effect that’s hard to counter.

Engaged but not committed state

Maintain optimal contact by “resting” your weight on and towards the opponent, you effectively stay connected and influential without committing force or direction. This sensitive, adaptable engagement provides tactical advantage, unlike a hard, committed push that’s predictable and easy to counter.

SCENARIOS

Basic Arm/Wrist Control Techniques

Five essential techniques—three low and two high—form the foundation for breaking an opponent’s grip. Mastering these five solutions develops a deeper understanding of the underlying mechanics common to a wide range of escape techniques.

The thumb is a critical component in most grips. By learning to disrupt the structural integrity of the opponent’s thumb, you can escape the majority of holds efficiently, without relying on brute force.

Redirection of incoming forces

A physical and philosophical approach that avoids meeting force head-on. Rather than pushing back (which combines your force with theirs), redirect their momentum—relax and step aside—to neutralize the attack more efficiently than direct confrontation.

Key Points:
  – Do not meet force with force—redirect it
  – Pushing back against 100 pounds using 110 pounds yields only a 10-pound net.
  – Head-on collisions amplify impact, as both forces are absorbed directly through the bodies involved.
  – Redirection (e.g., stepping aside) minimizes impact and uses the attacker’s momentum against himself.

EXERCISES

Planks

We made a few corrections before class—keep applying them in your practice. Use your abdominal muscles to support and “hang” the hips and legs in position. Minimize reliance on the legs, and avoid using the lower back to hold the posture.

Focus on maintaining a stable, aligned structure driven by the core rather than muscular tension in the limbs. If you practice consistently over the summer break, you will return significantly stronger and more stable in this position.

SIDE NOTES

There are only two more classes after this week before we break for the summer.

It has been a pleasure teaching all of you. You’ve been supportive of one another, which has made for a great training environment. I’d also like to give special mention to those of you who returned to training soon after hip surgery—your commitment is impressive.

Learning to adapt your training to how your body feels each day is essential. Adaptation is a key component of any effective survival skill.

This session is also the first time that I taught stick techniques to seniors. It has proven its value as a training aid for arm speed and strength. Still a long ways to go but I hope you all had fun while learning.

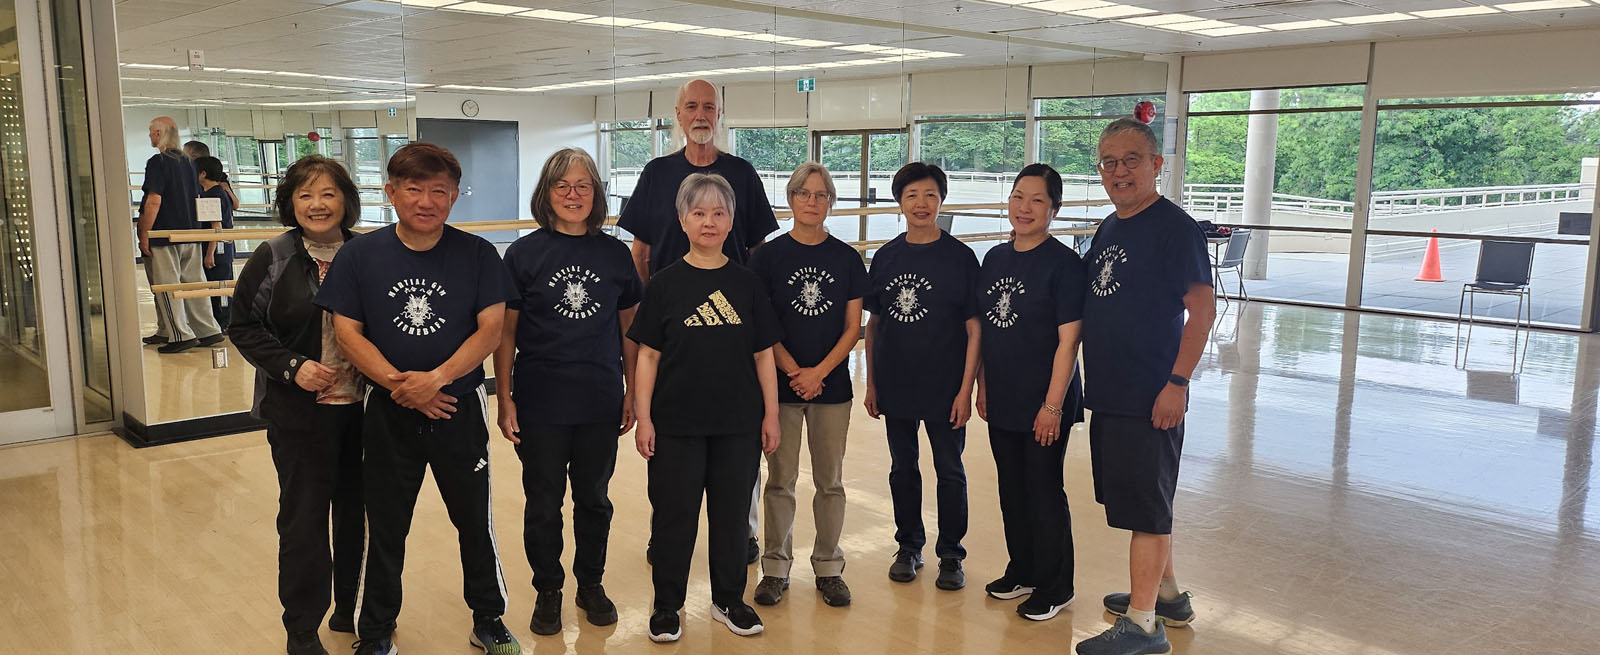
It is great that all of you bought the newly printed LHBF (liuhebafa) martial gym shirt. If you ever wonder what LiuHeBaFa means, you can read more about it in my other blog https://www.mariolam.com/?p=2834