CONCEPTS & DISCUSSIONS
Consequential movement: Consequential movement means that the movement you see does not originate from that body part itself. Instead, it is moved as a result of movement from other parts of the body.
For example, if you rest your hand on a table and then move your elbow, your hand will move as a consequence of the elbow movement. Or, if you walk away from the table, your hand will be pulled along. You do not even have to remember to move your hand separately. That is what we mean by consequential movement.
Minimum set of muscles for a functional purpose: When we use the term relax, it does not mean that we do not use muscles at all. Even maintaining a standing posture requires muscles to keep us balanced.
This is analogous to a project that is about to start. The project manager tells the human resources manager, “I NEED PEOPLE!” Without asking for any further details, the HR manager immediately hires 100 people off the street. Do you think this will fulfil the project’s needs?
You need information such as the type and level of skills required, the number of people needed, when and where they are required, how long they will be needed, the available budget, and much more.
Saying that you need muscles is very similar. Using too many muscles, or recruiting the wrong muscles for a specific task, can actually slow you down. That is why we further qualify the concept of relaxation as “technical relax.”
As a project manager, your focus should be on planning and completing the project, NOT on hiring people or supervising every individual task in detail.
Similarly, when striking, if you focus on the tension of individual muscles, you are making the same mistake as an ineffective project manager. Instead of focusing on the overall objective and letting the individual components do their jobs, you are micromanaging the process and potentially interfering with its efficiency.
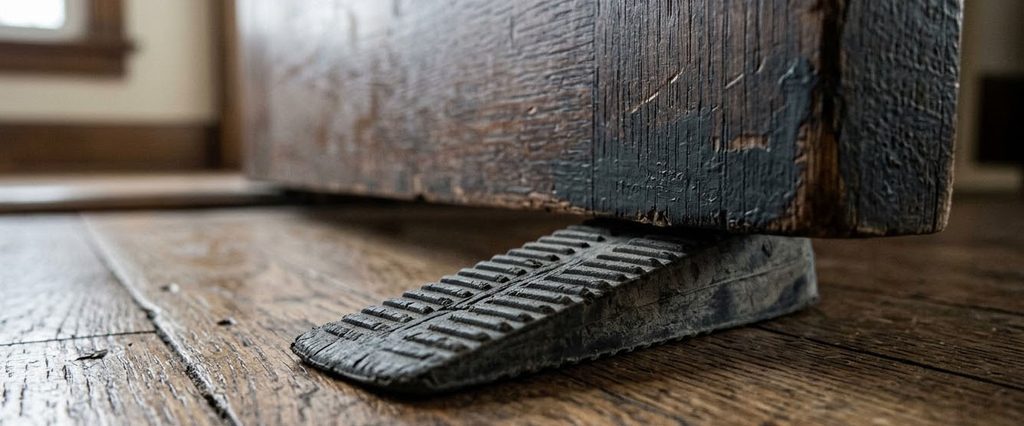
Differences between Jamming and “Door stopper”
With jamming, you take away the space an opponent needs to move freely or the distance required to generate sufficient power for a strike. Therefore, jamming usually involves closing in.
The doorstopper concept is about ensuring that your opponent never reaches their intended destination. You constantly redirect their energy elsewhere, preventing them from accomplishing what they intended to do while preserving or increasing the space you want to gain to increase your effectiveness.
Psychology in self defense:
There is no doubt that your physical attributes matter. However, not all of them are under your control at a specific point in time. You are born with certain physical characteristics. For example, you cannot easily change your height or arm reach at a moment’s notice. And if you are injured or not feeling 100%, you need to work with you have at that moment.
Learning how to maximise each individual attribute is important. Sometimes, you have to make things work despite lacking certain physical advantages.
The following are examples of psychological tools that can give you an advantage:
- Almost there
- Not yet
- I am losing balance
- I am about to run out of gas
- Dissonance between what you feel and what you see
- He is strong / fast; I need to be prepared
- You are going to pay vs. He can do this to me
- Pain avoidance
Necessity of Flow Drills
If skills are firmly bound together like the forms as performed, you will lose the ability to adapt to different situations.
We started with non-confrontational, effortless power. However, we still need to work through scenarios in which the aggressor simply refuses to stop. In such cases, you need to escalate your response accordingly.
Joint locks fit into the warning / punishing phase, where a certain degree of pain is inflicted without causing long-term damage. Going for the eyes or groin, on the other hand, would certainly be more destructive.
We will practice flowing from the five major grab escapes, moving beyond simply escaping and repositioning ourselves. We will also explore different joint locks, with the aim of controlling the situation without actually breaking anything.
Sensitivity Drills (tīng jìn, 听劲)
Aside from striking and kicking, there is another very important category of training that is unique to our style and must be developed to make everything work cohesively. That is sensitivity.
Depending on the style, this type of training may be known by different names. Examples include push hands (tuishou 推手) in Tai Chi, sticky hands (黐手) in Wing Chun, and testing of force (shi-li 試力) in I-Chuan. Although the methods differ, they share very similar goals.
In our definition of sensitivity, we go a little further. In addition to tactile training, we should include using our eyes and gut feelings to sense when something is not right. At its most basic level, sensitivity means using any part of the body to feel the forces applied to our hands, legs, and body.
For example, if someone gently touches you with a finger, most people will acknowledge that they felt the touch but go no further. However, as a trained fighter, even with their eyes closed, may be able to make several deductions like whether the opponent is within striking distance. Based on where they touch, the direction and intensity of the touch, you may also draw conclusions about their intentions.
When you incorporate daily visual information into your training like body language, nervousness, etc., you can deduce risks as well as opportunities.
Sensitivity is our way of gathering information that helps us formulate a strategy.
Gathering information about the forces coming at you is very important. With that information, you can learn to redirect those forces. A good understanding of the implications of any movement—or lack of movement—allows you to identify your opponent’s weaknesses and find an effective counter.
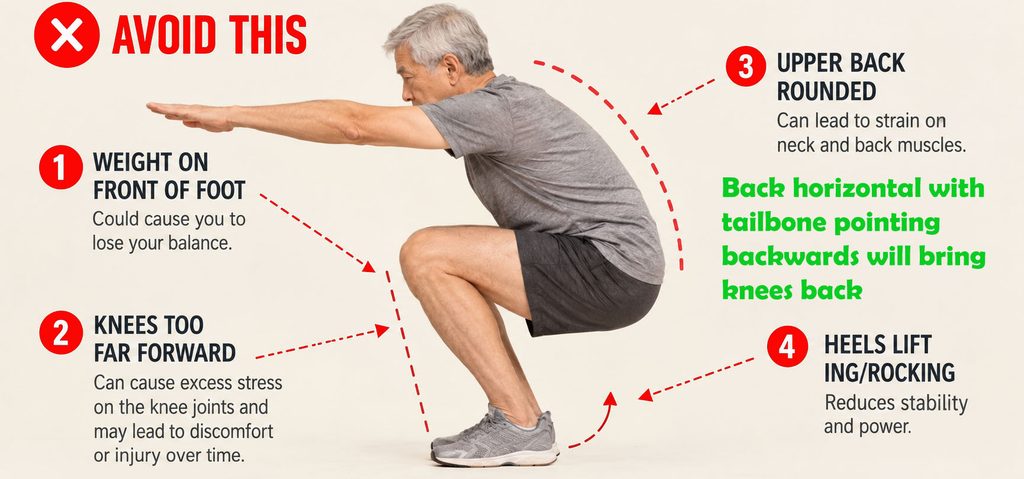
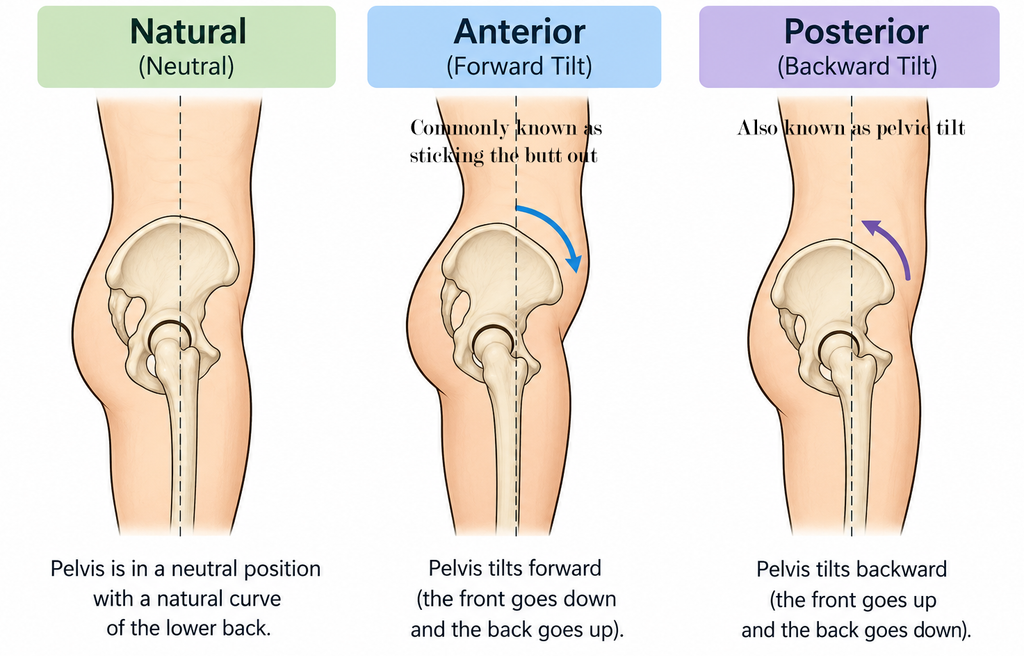
Three Pelvic Positions
We need to be able to control our pelvic into different positions depending on WHAT we are trying to accomplish.
- During our normal daily activities, we should maintain the pelvis in its natural position, preserving the spine’s natural S-curve. This allows our back muscles to remain relaxed.
- When sitting and preparing to stand up, pushing your buttocks backwards helps position your body more effectively for the movement.
- If you are falling backward, you want to protect your tailbone. Tucking your pelvis under helps reduce direct impact on the tailbone and promotes a safer landing.
SCENARIOS
Two-hand grab escape using consequential movement: A two-hand grab escape can be solved by applying what you have already learned. We have practised the one-hand, same-side, low-grab escape using the following keywords: project, finger to belly button, and step—all at the same time—to the aggressor’s outside.
However, this cannot be applied directly to a two-hand grab because you cannot move to the aggressor’s outside on both sides at the same time.
If you abandon the primary principle of relaxation, you are back at square one. Techniques must be built on a common foundation so that your brain does not get tied in knots trying to remember different solutions.
The goal of these escapes is NOT to free both hands, but to retain control and move in a strategic direction so that you can manage the aggressor’s various possible responses.
Therefore, we apply our primary solution to our right side and use consequential movement on the left. At the same time, we step towards the aggressor’s right side, bring our left hand across to the right, and grab his wrist.
Your right hand will now be free, while your left hand is still being held. Let it be! Freeing both hands was never your primary goal.
The aggressor will likely continue holding your left hand because he is desperately trying to maintain his grip after losing control of your right side. By doing this, you have effectively controlled both of his arms with one hand, applying both physical and psychological principles.
The lesson here is that setting the goals and assumptions correctly upfront can eliminate a great deal of unnecessary complexity later.
Furthermore, primary skills can be combined with other fundamental concepts to create a “new” skill. This becomes possible when you allow your left and right hands to operate independently while remaining coordinated and related to each other.
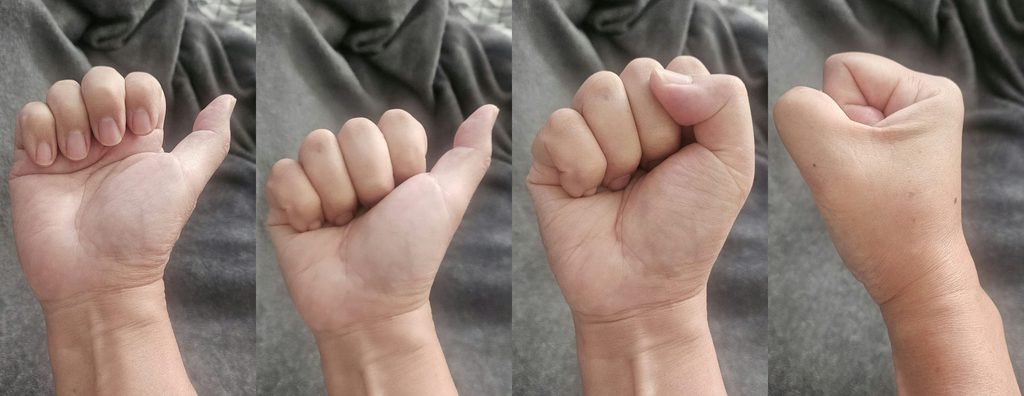
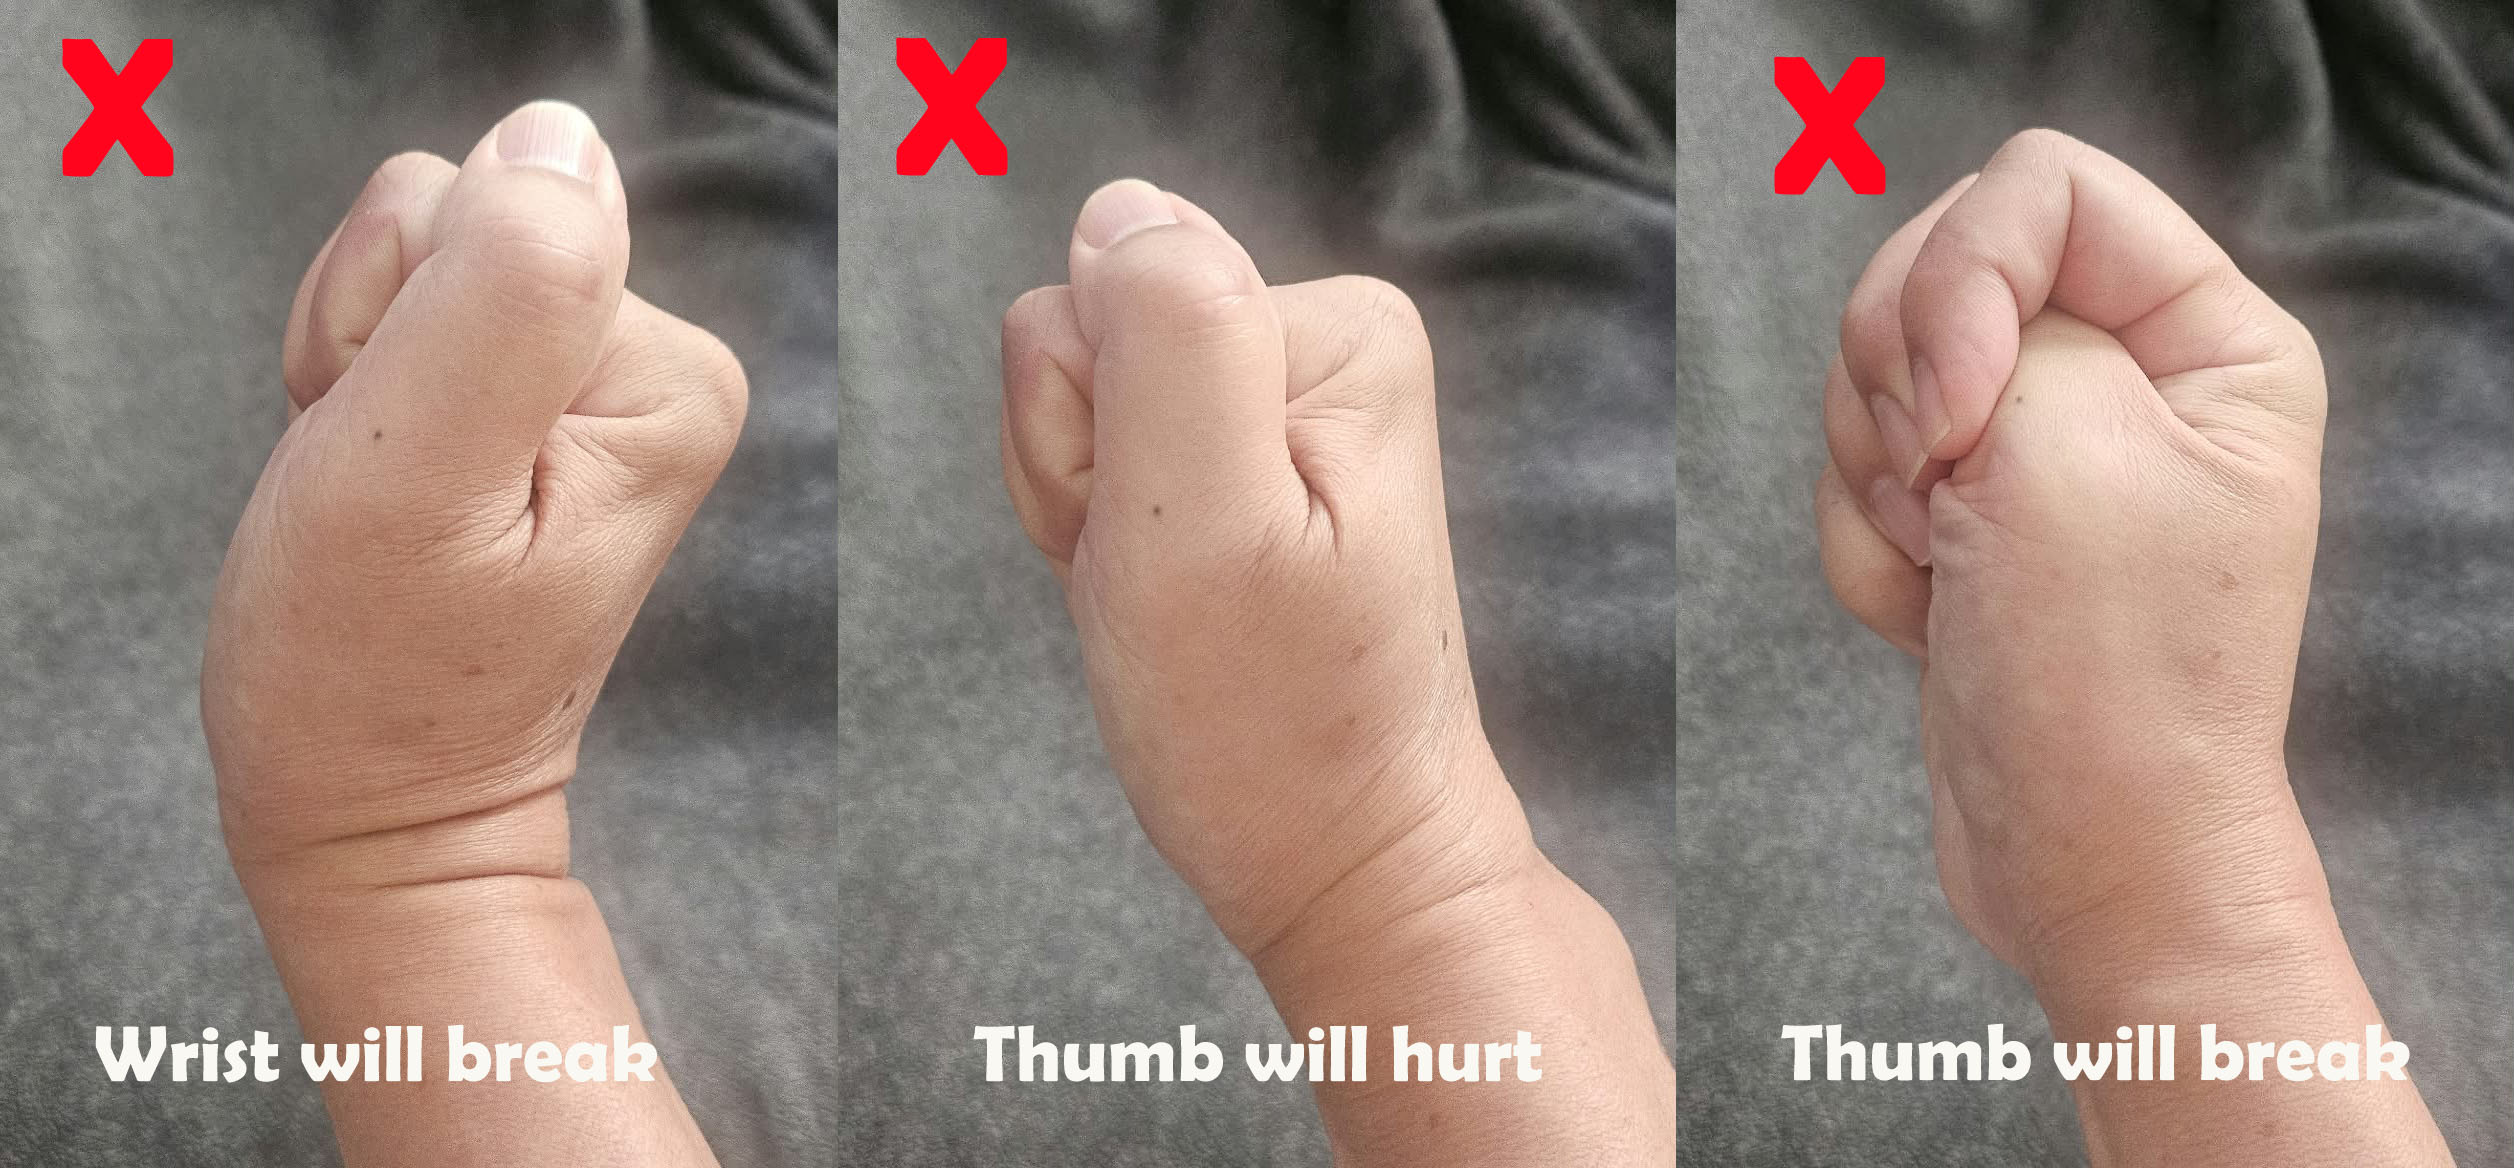
Guard Position and Blocking Mechanics: A proper guard position places your rear hand at chin level, with your ribs protected by your elbows resting gently against them. Your hands or fists should point slightly forward rather than towards the ceiling. Keep your chin tucked, with your forehead leading rather than your nose.
Your blocks should be directed towards the opponent’s nose and eyes. This helps you respond to feints before they develop into actual strikes while avoiding unnecessary exposure of your face.
Furthermore, this approach allows you to remain more relaxed and use the same basic response whether the opponent throws a straight strike, makes a feint, or catches you off guard because you have misread the situation.
Pulling mechanics
One good thing about sports is that, even though their scope may be limited, they provide real-life examples of human kinetics in action.
The video above shows how professional tug-of-war teams use their entire bodies to generate and transmit force. Notice how they keep their arms relatively straight to eliminate weak links, such as relying too heavily on the biceps.
However, directly applying their technique to fighting does not work because there are no fixed directions in combat. You simply cannot commit your entire body to an action when the situation can change at the flick of a dime.
Nevertheless, if you think of the rope as representing the power chain, the following principles can be applied:
- Keep your engines close to the power chain and axis.
- Use your entire body to generate force while keeping your limbs relatively extended.
- Avoid relying on big steps. Small, incremental successes can produce significant results because you minimise the gaps in your movement that could leave you vulnerable between steps.
I demonstrated how, by compressing my engines towards the line of force and applying the correct mechanics, I could remain seated and bring a strong adult down into a seated position.
Furthermore, applying the same principles, I demonstrated that when two adults pulled on me, I could counter their pull and draw them towards me instead.
Finger Locks
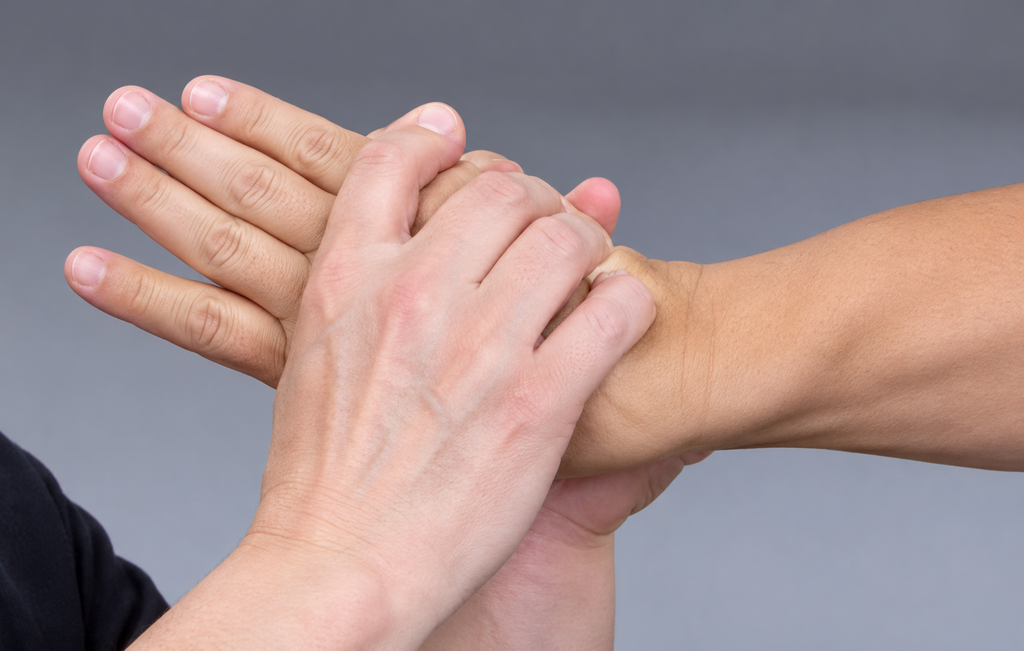
Finger locks can be very effective when applied properly. Using the whole hand against one or two fingers, combined with leverage and whole-body power, can give you a significant mechanical advantage.
However, applying excessive force to a single finger can cause a fracture, which may produce the opposite of the intended result. Although the aggressor may experience severe pain, the injury could trigger an unpredictable response rather than the compliance you were hoping to achieve.
I prefer the two-finger approach because it can provide leverage and control while creating pressure that may encourage the aggressor to submit. The key is to understand the mechanics and maintain control rather than rely on brute force.
Door Stopper and Plane Control
Guiding or redirecting an aggressor’s movement requires minimal force. The objective is to guide their movement in a direction that takes them away from their original intention and, of course, outside your “defensive box.”
Key principles include imagining a plane, preventing attacks from passing through it, and redirecting incoming forces or attacks to the side.
We practised these concepts with partners to better understand how they work in application.
SIDE NOTES
Did you do all the exercises listed in previous week’s notes? While the skills you learned so far are relatively “effortless”, however, that does not mean you don’t have to put effort in its training.
The more useable resources you have, the more adaptable you become.